虽然Spring Security框架给我们赠送了个登录页面,但这个页面过于简单,Spring Security允许我们自定义登录页。
准备工作
第一步在maven中加入Spring Security相关依赖(Spring MVC已搭建好)。
1 | <dependency> |
为了在项目中使用 Spring Security 控制权限,首先要在web.xml 中配置过滤器,这样我们就可以控制对这个项目的每个请求了。
1 | <filter> |
applicationContext.xml的配置如下:
1 |
|
在applicationContext.xml中,使用<import/>标签引入了spring-security.xml配置。spring-security.xml先简单配置如下:
1 |
|
上述配置中主要干了几件事:
1.声明在xml 中使用Spring Security 提供的命名空间xmlns=”http://www.springframework.org/schema/security"。
2.设置一些免验证资源或者路径。
3.利用intercept-url来判断用户需要具有何种权限才能访问对应的url资源,可以在pattern中指定一个特定的url资源,access指明需要的权限。比如url “/admin” 必须拥有ROLE_ADMIN的用户才能访问。在实际使用中,Spring Security采用的是一种就近原则,就是说当用户访 问的url 资源满足多个intercepter-url 时,系统将使用第一个符合条件的 intercept-url 进行权限控制。
4.access="IS_AUTHENTICATED_ANONYMOUSLY"指定匿名用户也可以访问。
5.<form-login/>标签的login-page=”/login”属性表示登录页面的请求,由控制器去处理。
6.<custom-filter/>标签引用了一个名为loginfilter的过滤器,用于登录的时候进行验证。
7.接下来定义了id为loginfilter的bean,其filterProcessesUrl设定了登录页表单提交时的请求;authenticationManager属性指向authenticationManager。该bean对应的类下文再做介绍。
8.user-service中定义了两个用户,admin 和user,password属性定义其密码,authorities属性为其分配权限。
9.<authentication-manager/>标签注册了一个认证管理器,并通过 <authentication-provider/>标签的user-service-ref属性将之前定义的用户装配起来。
除此之外,还可以使用SpEL表达式进行url的拦截。
启用SpEL
启用SpEL:
1 | <http auto-config="true" use-expressions="true"> |
Spring Security支持的所有SpEL表达式如下:
| 安全表达式 | 计算结果 |
| authentication | 用户的认证对象 |
| denyAll | 结果始终为false |
| hasAnyRole(list of roles) | 如果用户被授予了列表中任意的指定角色,结果为true |
| hasRole(role) | 如果用户被授予了指定的角色,结果为true |
| hasIpAddress(IP Address) | 如果请求来自指定IP的话,结果为true |
| isAnonymous() | 如果当前用户为匿名用户,结果为true |
| isAuthenticated() | 如果当前用户进行了认证的话,结果为true |
| isFullyAuthenticated() | 如果当前用户进行了完整认证的话(不是通过Remember-me功能进行的认 证),结果为true |
| isRememberMe() | 如果当前用户是通过Remember-me自动认证的,结果为true |
| permitAll | 结果始终为true |
| principal | 用户的principal对象 |
1 | <http auto-config="true" access-denied-page="/deny" use-expressions="true"> |
接下来自己编写个登录页。
自定义登录页
login.jsp如下:
1 | <%@ page language="java" contentType="text/html; charset=utf-8" pageEncoding="utf-8"%> |
与Spring Security相关的就几个:
1./j_spring_security_check,提交登录信息的URL地址。
2.j_username,输入登录名的参数名称。
3.j_password,输入密码的参数名称。
4.${sessionScope['SPRING_SECURITY_LAST_EXCEPTION'].message}和${SPRING_SECURITY_403_EXCEPTION.message}用于输出登录失败的异常信息。
login.jsp页面尾部添加了验证码验证。验证码对应的controller如下:
1 |
|
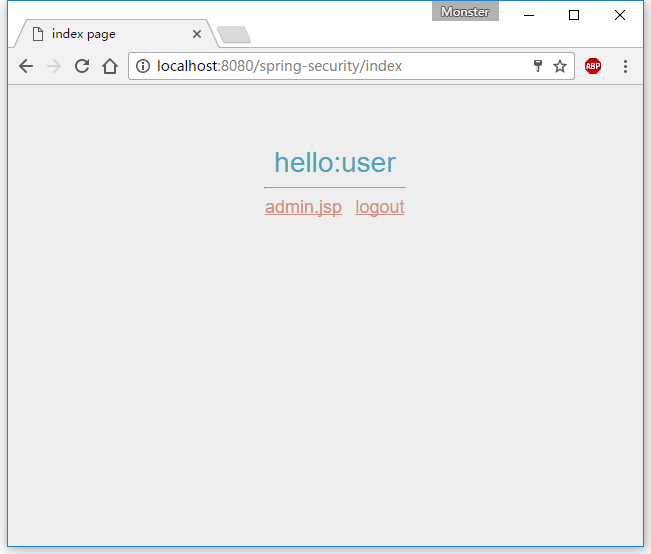
接下来编写index.jsp,成功登录后跳转到该页面:
1 | <%@ taglib uri="http://www.springframework.org/security/tags" prefix="sec" %> |
编写admin.jsp用于测试权限控制:
1 | <%@ taglib uri="http://java.sun.com/jsp/jstl/core" prefix="c" %> |
页面跳转controller:
1 | import org.springframework.stereotype.Controller; |
处理登录
在spring-security.xml文件中定义的loginfilter过滤器对应的类如下:
1 | import javax.servlet.http.HttpServletRequest; |
MrbirdUsernamePasswordAuthenticationFilter继承自UsernamePasswordAuthenticationFilter,主要工作是获取用户在登录界面输入的用户名和密码,并判断是否为空,以及判断验证码的正确性。
UsernamePasswordAuthenticationToken 中有2个参数Object principal(主要的身份认证信息),Object credentials(用于证明principal是正确的信息,比如密码)在一个带有username和password的权限认证请求中,principal就会被赋值username,credentials就会被赋值password。
我们还可以在Spring Security.xml中的loginfilter bean配置登录成功与失败的过滤器:
1 | <b:bean id="loginfilter" |
其中,MrbirdLoginSuccessHandler用于处理登录成功后的操作,比如生成日志等:
1 | import java.io.IOException; |
处理登出
同样,我们可以添加登出过滤器,在Spring Security.xml中的1
2
3
4
5
6
7
8
9
10<http auto-config="true">
...
<logout invalidate-session="true" logout-url="/j_spring_security_logout"
success-handler-ref="logoutSuccessHandler"/>
</http>
<!-- 登出成功,处理类 -->
<b:bean id="logoutSuccessHandler"
class="spring.security.web.MrbirdLogoutSuccessHandler">
<b:property name="defaultTargetUrl" value="/login"/>
</b:bean>
logoutSuccessHandler对应的类MrbirdLogoutSuccessHandler:
1 | import java.io.IOException; |
异常信息本地化
Spring Security自带的异常信息显示是纯英文的,但Spring Security支持异常信息本地化,这些信息包括认证失败、访问被拒绝等。
在Spring Security.xml中配置:
1 | <b:bean id="loginfilter" |
其中,messages_zh_CN.properties配置如下:
1 | AbstractUserDetailsAuthenticationProvider.badCredentials=\u8D26\u53F7\u6216\u5BC6\u7801\u9519\u8BEF |
AbstractUserDetailsAuthenticationProvider.badCredentials定义了账户或密码不匹配时候的异常信息,Auth.usernameIsNull和Auth.passwordIsNull则是MrbirdUsernamePasswordAuthenticationFilter中抛出的异常。
自定义限制页面
当页面因为用户权限不足而受限的时候,显示的是403 Access is Denied页面,我们可以自定义这个受限页面。
修改配置spring security.xml文件的1
2
3<http auto-config="true" access-denied-page="/deny" >
...
</http>
在LoginController中添加:
1 | ... |
deny.jsp
1 | <%@ taglib uri="http://java.sun.com/jsp/jstl/core" prefix="c" %> |
测试
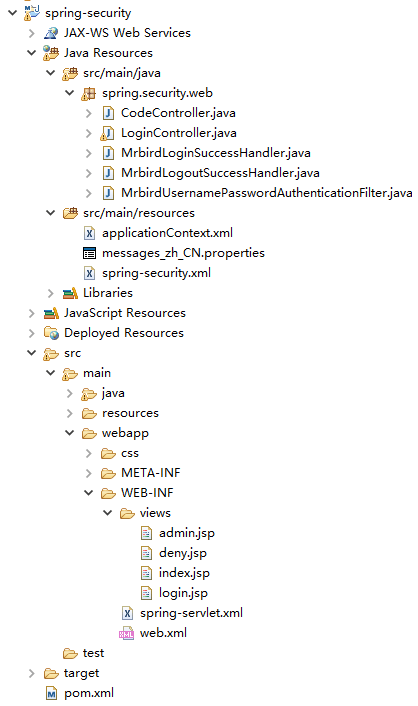
最终,工程的目录结构为:
spring security.xml最终配置如下:
1 |
|
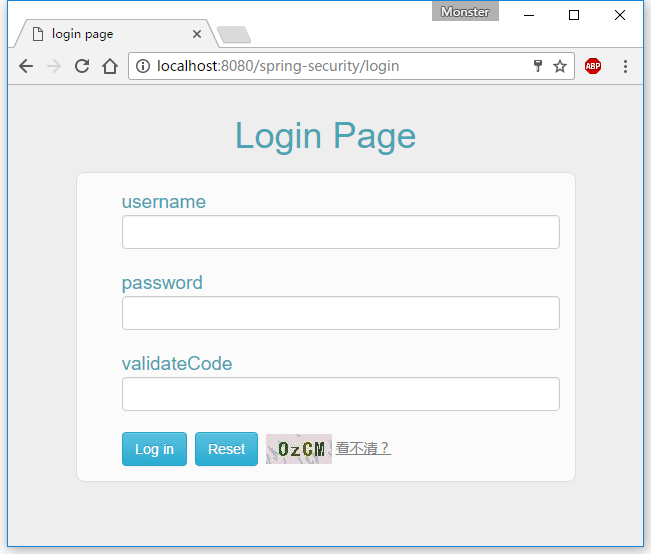
启动工程,访问:http://localhost:8080/spring-security/login
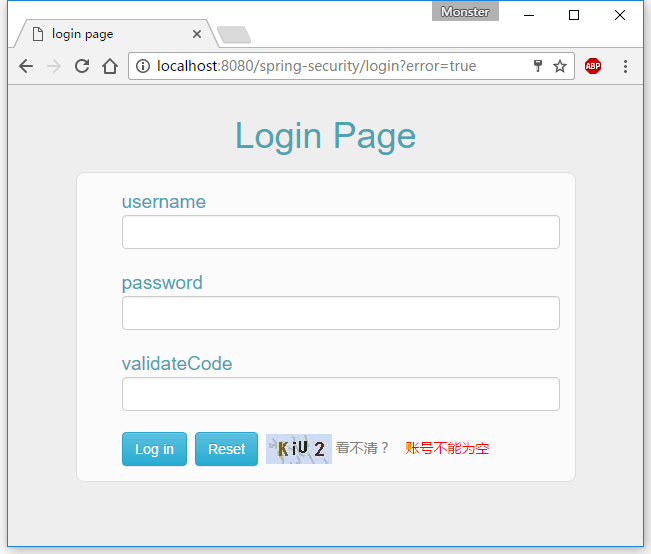
当登录失败时,页面如下:
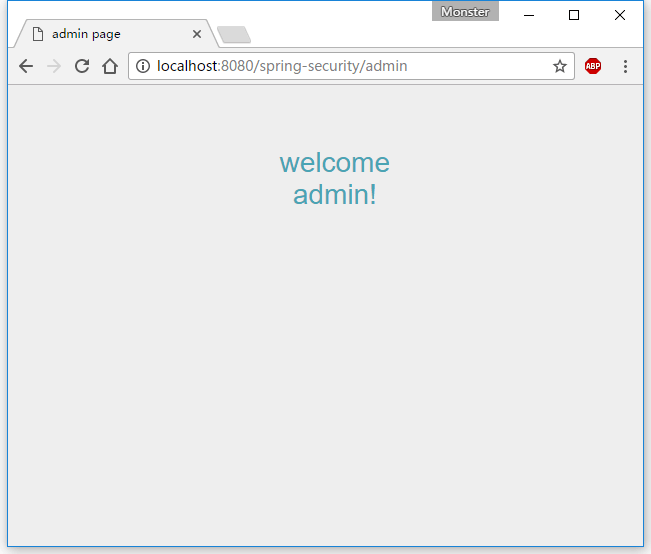
admin成功登录后:
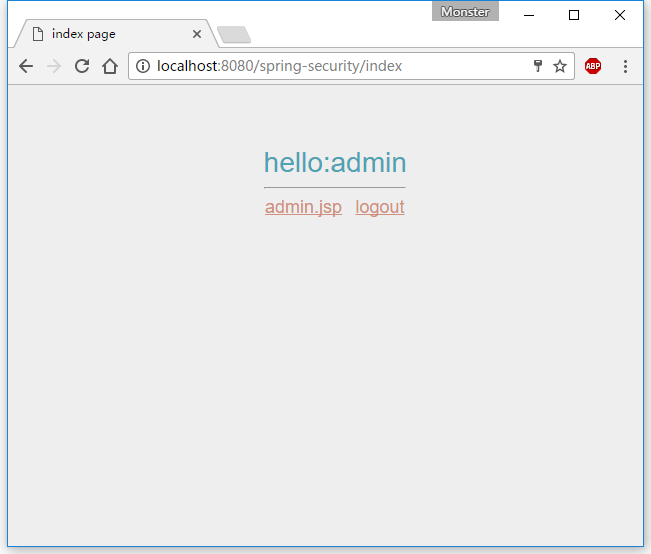
控制台输出:
1 | 登录成功! |
点击admin.jsp:
点击logout回到登录页面,使用user登录:
点击admin.jsp:
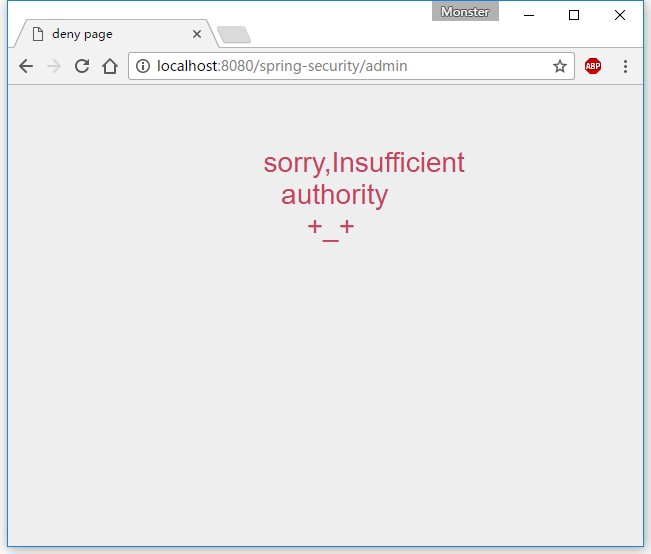
访问受限。

