SSO(Single Sign On)即单点登录,效果是多个系统间,只要登录了其中一个系统,别的系统不用登录操作也能访问。比如在浏览器上同时打开天猫和淘宝页面,在天猫页面进行登录,然后回到淘宝页面刷新后会发现淘宝也已经是登录状态了。这节将介绍如何使用Spring Security OAuth2实现单点登录。
框架搭建
我们需要创建一个maven多模块项目,包含认证服务器和两个客户端。
新建一个maven项目,作为项目的父模块,pom如下所示:
1 |
|
然后在该maven项目下新建一个module,artifactId为sso-server(作为认证服务器),pom如下所示:
1 |
|
接着继续新增一个module模块,artifactId为sso-application-one(作为客户端一),pom如下所示:
1 |
|
另外一个客户端和sso-application-one一致,只不过artifactId为sso-application-two。
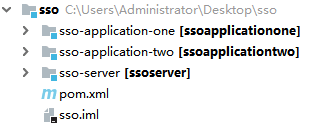
至此,项目的基本框架搭建好了,结构如下所示:
认证服务器配置
认证服务器作用就是作为统一令牌发放并校验的地方,所以我们先要编写一些基本的Spring Security 安全配置的代码指定如何进行用户认证。
新建一个Spring Security配置类,继承WebSecurityConfigurerAdapter:
1 |
|
上面简单配置了密码加密使用bcrypt方式,并且所有请求都需要认证,认证方式为Spring Security自带的登录页面认证(也可以根据前面教程来自定义登录页面,这里为了简单起见,就直接用自带的登录页了)。
接着需要定义一个自定义用户登录认证的服务:
1 |
|
基本逻辑是用户名随便写,密码为123456,并且拥有user:add权限。这些前面都介绍过了,就不再详细说明了。MyUser的代码如下:
1 | public class MyUser implements Serializable { |
接着开始编写认证服务器配置。
新建SsoAuthorizationServerConfig,继承AuthorizationServerConfigurerAdapter:
1 |
|
Token使用JWT,这些配置都在前面几节OAuth2教程里介绍过了就不再赘述了,这里详细说下configure(ClientDetailsServiceConfigurer clients)的配置:
1 | ... |
这里分配了两个客户端配置,分别为app-a和app-b,因为使用默认的Spring Security登录页面来进行认证,所以需要开启authorization_code类型认证支持。
认证服务器的application.yml配置如下:
1 | server: |
认证服务器的搭建就告一段落了,接下来开始客户端代码编写。
客户端配置
两个客户端的代码基本一致,所以这里只介绍其中一个,另一个可以参考源码。
在客户端SpringBoot入口类上添加@EnableOAuth2Sso注解,开启SSO的支持:
1 | 2Sso |
接下来的重点是配置文件application.yml的配置:
1 | security: |
security.oauth2.client.client-id和security.oauth2.client.client-secret指定了客户端id和密码,这里和认证服务器里配置的client一致(另外一个客户端为app-b);user-authorization-uri指定为认证服务器的/oauth/authorize地址,access-token-uri指定为认证服务器的/oauth/token地址,jwt.key-uri指定为认证服务器的/oauth/token_key地址。
这里端口指定为9090,context-path为app1,另一个客户端端口指定为9091,context-path为app2。
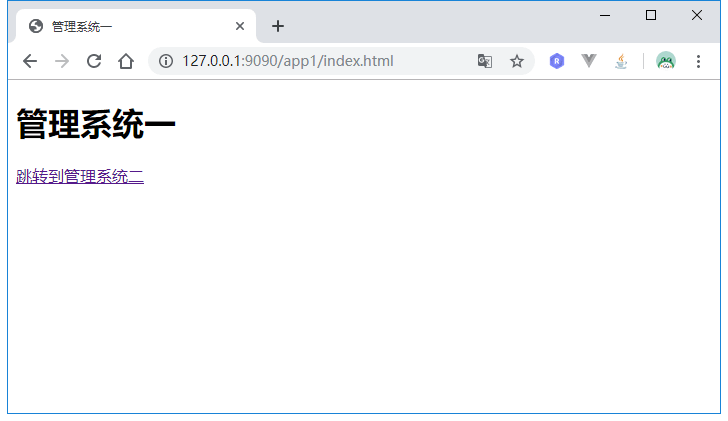
接着在resources/static下新增一个index.html页面,用于跳转到另外一个客户端:
1 |
|
为了验证是否认证成功,我们新增一个控制器:
1 |
|
另外一个客户端的代码略,可以参考源码。
测试效果
先启动认证服务器,任何在启动两个客户端。启动后,访问http://127.0.0.1:9090/app1/index.html:
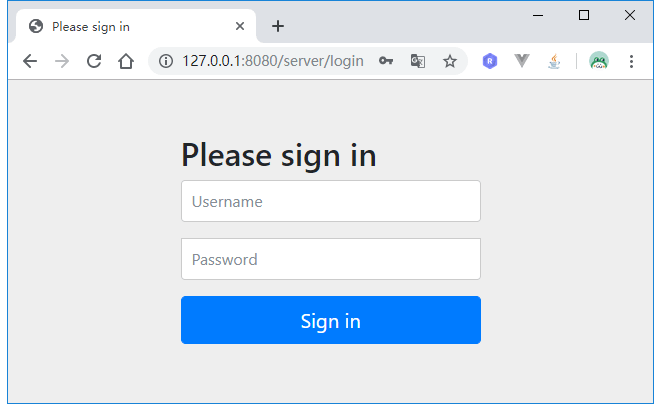
可以看到页面被重定向到认证服务器的登录页面,根据我们定义的UserDetailService,用户名随便填,密码为123456。登录后页面跳转到:
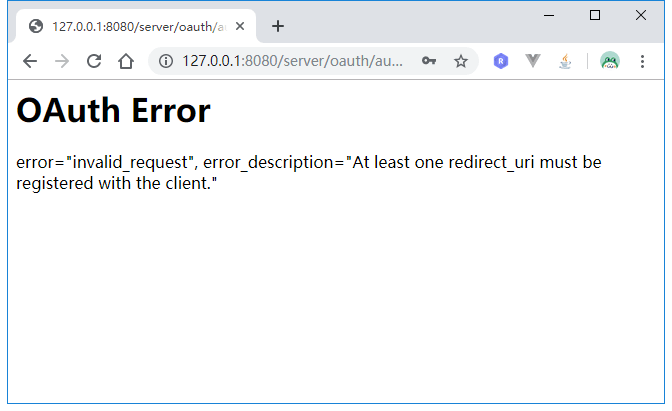
页面提示的意思是:非法请求,至少需要一个重定向URL被注册到client。从URL中可以看出,redirect_uri为http://127.0.0.1:9090/app1/login,所以我们修改认证服务器client相关配置如下:
1 |
|
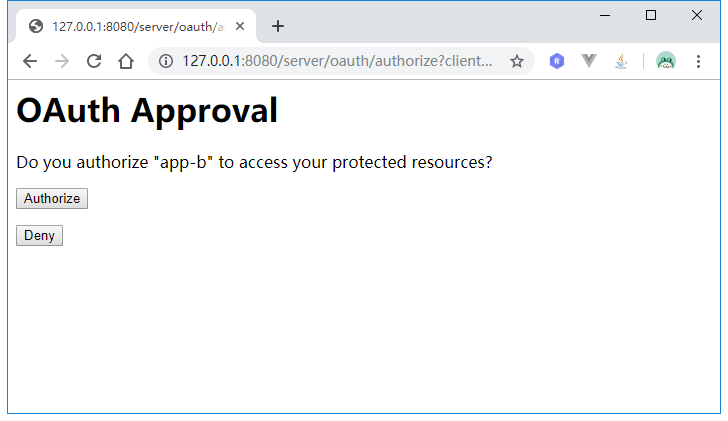
重启认证服务器,重复上面的过程,这次登录后,页面跳转到了授权页面:
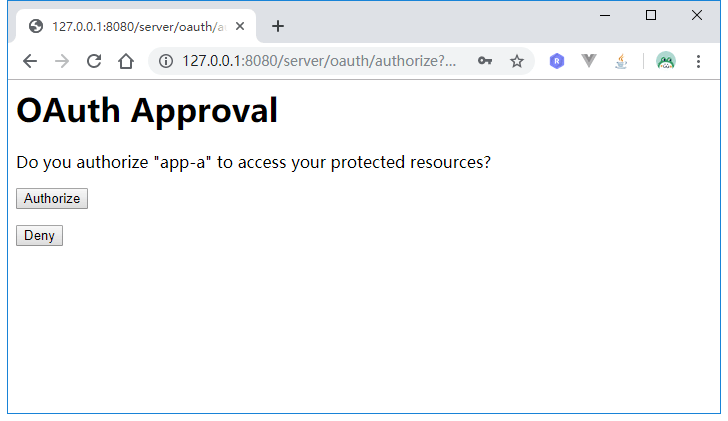
点击Authorize:
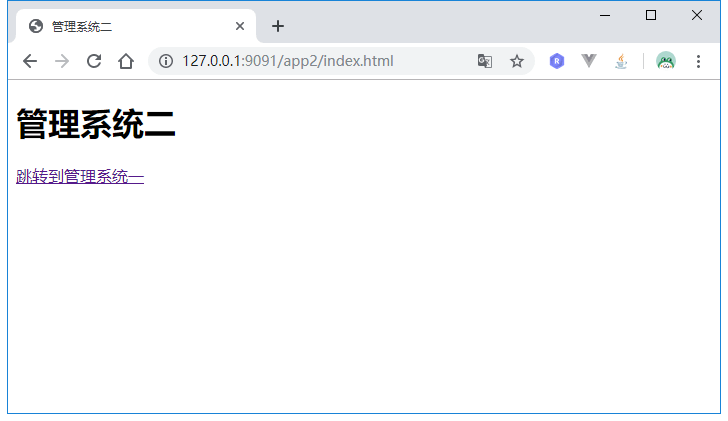
这时候app-a对应的客户端已经登录了,点击跳转到系统二:
页面直接来到授权页,而不需要重新输入用户名密码,继续点击Authorize:
系统二也已经成功登录,访问http://127.0.0.1:9091/app2/user看是否能成功获取到用户信息:
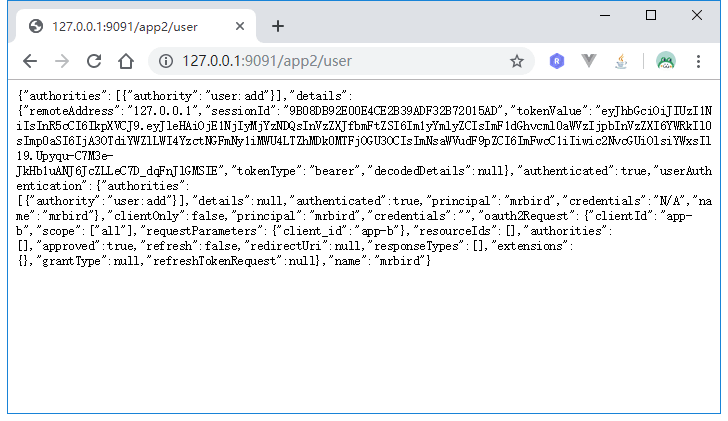
到这里我们已经实现了单点登录的基本功能了。
但是在这个过程中需要用户点击Authorize授权,体验并不是很好,我们可以去掉它。修改认证服务器Client配置如下:
1 |
|
autoApprove(true)自动授权。修改后重启即可看到效果。
权限校验
Spring Security权限校验前面介绍过了,这里看下在单点登录模式下如何进行权限校验。
在客户端控制器里加入如下代码:
1 | ("auth/test1") |
在客户端新增Spring Security配置类:
1 |
|
改完后,先启动认证服务器,在启动客户端。
在启动客户端的时候出现异常:
1 | Caused by: java.lang.IllegalStateException: @Order on WebSecurityConfigurers must be unique. Order of 100 was already used on cc.mrbird.sso.client.config.WebSecurityConfigurer$$EnhancerBySpringCGLIB$$aa470b71@34d45ec0, so it cannot be used on org.springframework.boot.autoconfigure.security.oauth2.client.OAuth2SsoDefaultConfiguration$$EnhancerBySpringCGLIB$$6f69df92@18137eab too. |
大致意思是,认证服务器已经配置了Spring Security配置,并且顺序为100,和客户端的Spring Security配置冲突了。所以我们修改下客户端的Spring Security配置顺序:
1 | (101) |
让它的优先级小于认证服务器的Spring Security配置。
重新启动客户端,进行单点登录操作,登录成功后,访问http://127.0.0.1:9090/app1/auth/test1:
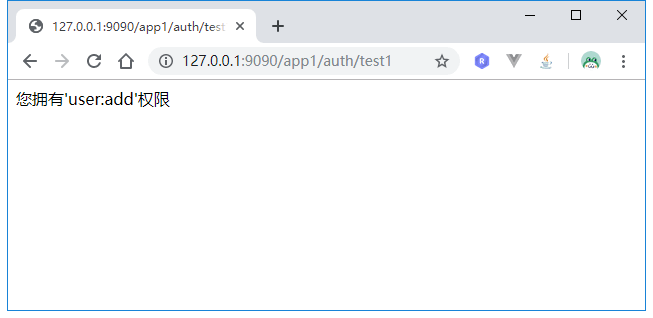
访问http://127.0.0.1:9090/app1/auth/test2:
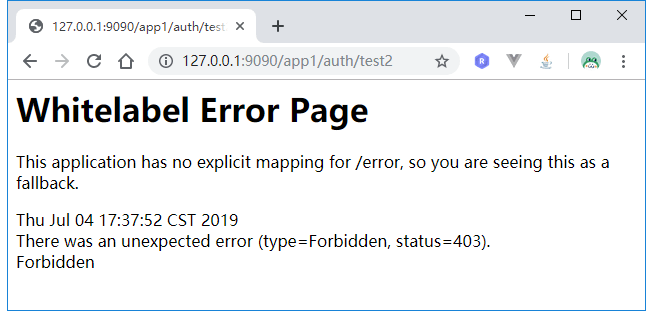
返回403,没权限,说明权限注解生效了。
源码链接:https://github.com/wuyouzhuguli/SpringAll/tree/master/66.Spring-Security-OAuth2-SSO

